Wednesday, December 21, 2016

Exchange 2016 - Issue with changing URL for MAPI connections

As you know when you installed Exchange all of the Virtual Directories use the FQDN of the server as the URLs for the Exchange Virtual Directories. If your Exchange server is being used for OWA or CAS you will most likely have a SSL Cerfiticate to prevent you from getting those pesky SSL errors.

During an install that I recently did I ran into an issue where all the outlook clients were getting SSL pop up messages that looked like this:


From the message you are able to see that the name of the certificate does not match the server name. So I logged into the Exchange Admin Center and looked under Servers > Virtual Directories and checked each of the Virtual Directories listed. As this was my first 2016 installation I discovered that there was a virtual directory for mapi. So from the web interface I changed the internal url to match the name of the certificate "https://Mail.Domain.com/mapi" and restarted IIS. After that I go and try and configure an outlook client and good news I no longer get the SSL Error, but now I am unable to authenticate to the mailbox!!!

After playing around with it for a while I discovered that changing the name back did not fix the issue so I was forced to do a rebuild on the virtual directory and that took me back to square 1.

After hours of searching online for an answer I found this powershell command that worked


Set-mapivirtualdirectory -identity "[SERVERNAME]\mapi (default Web Site)" -internalurl  https://Mail.DOMAIN.com/mapi

After doing this command I restarted IIS again and the clients are now able to connect without issue.

UPDATE on this issue:

I would appear that do to a misconfiguration in the client's internal DNS their Autodiscover.domain.local was a A record and not a CNAME which it appears that outlook autodiscover does not like. So I changed the record to a CNAME by deleting the A record and recreating it. Then I went to a local machine and did a IPCONFIG /FLUSHDNS and then restarted outlook and that seems to have fixed the issue.

Wednesday, August 3, 2016

Scenario 003 - Mapping a network drive to a server in a workgroup environment

Back Story:

Recently I was working at a client who have a Windows Server 2012 R2 Essentials server not setup in as an Active Directory Domain. The client machines are Windows XP SP 3 x86 system and they are running a DOS application that is the back bone of their business. It serves as CRM, billing, and inventory system. Everything was working just fine when one of their client machines died (System Board died) so they needed to purchase a replacement system. They went with a brand new Dell Optiplex running Windows 7 x64 system.

When I went down to setup the system I discovered that the DOS program would not work (no shock there) however even compatibility mode failed me this time (although I don't think I have ever seen it work). So my choices were to try and rebuild the system as Windows XP or build a VM that runs Windows XP. Obviously since they do not make drivers for Windows XP anymore for newer systems so I installed VMware Workstation Player on the computer and build a Windows XP virtual machine.

Once the machine was built I then needed to map a network drive to the server that was hosting the DOS application. I was able to map the drive using Windows Explorer but found out that once I did a reboot the credentials did not keep (even after checking the box that said remember credentials).


Problem:

Windows XP Virtual Machine will not keep credentials for network drive after log off or reboot. The drive would continue to be mapped however end user would need to provide credentials for Server every time. Both Server and Workstation are in a Workgroup and not a Domain.

Solution:

I created a logon script and placed it the startup folder of the user account that would remap the drive at every login and would use the credentials on the server to allow the workstation to access the application.

The syntax I used was:

NET USE G: \\SERVERNAME\SHARENAME /USER SERVERNAME\USERNAME PASSWORD

NOTE: I was not the one who setup this network so unfortunately it was not setup the way that I would have done it so I had to jump through all these hoops to get the job done.

Tuesday, August 2, 2016

Scenario 002 - Computer Hard Disk Drive crashed or not working

Recently I was picking my kids up from a family friend's house and through normal chit chat in the conversation it was brought up that their family computer's HDD had failed or "Crashed". After giving them my sympathy for their loss (some work document and Tons of Family Photos and Videos) something clicked in my brain. I have been out of the game for a long time in terms of being a full time desktop support technician, not to say that I do not do it, however my sights are now on Virtualization and Messaging these days. Anyway back in the day when I used to work for large companies doing desk side support where end users would prefer to save data to their local HDD rather than network drive due to 10 Meg Ethernet or Token Ring network connection (no this is not meant to age me but rather how old the network was).

So lets just say that because this was the norm for their corporate culture we had a lot of issues with people losing data. However my team and I became very good at performing miracles and bring a drive back from the dead.

While this is still in my head I figured I would share this information with you.


Please note that I am not taking responsibility for any damage that you may do to equipment. This is just to share my war stories and if it helps someone out of a bind then great!

Issue:
 Drive will not spin up or there is a clicking noise

Solution:
Try sticking the HDD into the freezer for a few hours (we used to do about 16 hours) and then try to power the drive up again. More times than not it will work but your time is limited so get your data quickly.

Notes:
Do not put your drive on top of ice or anything moist (putting it into a plastic bag might be smart).

Issue:
Drive powers on and spins with no clicking but is not detected by OS or BIOS.

Solution:
Here is where working for a large company with tons of machines with the same model comes in handy. If you have a spare drive that is the same Make and Model you can use a torx screw driver to take the controller card off of the drive and put it onto the defective drive. This should allow the drive to be seen by the OS so you can get your data off.

Notes:
By doing this you are voiding the warranty of your drives so make sure you know the risk before you proceed.


Monday, August 1, 2016

Scenario 001 - You have a remote user who says they are not able to connect to the VPN. Claims that their password may have expired.

So you come in Monday morning and you get a phone call from your Director of Sales who says he is unable to log into the VPN. He is on the road all week in Canada and is not able to have you remote in to see what is going on. He has 30 minutes to prep for a very important meeting and he left his powerpoint deck on his H: Drive. He also tells you that he thinks he saw a message telling him that he needed to reset his password for the last two weeks but he just forgot to do it.

How can you find out what  is going on with his account?

Since we are working with a Microsoft AD environment there are hundreds (if not thousands) of ways to find your answer. One of my favorite ways to see what is going on with a AD account is by using NET USER "Username" /DOMAIN

This command will give you every piece of information about the user account that you could want including:
  •  AD Group Memberships
  • Last time the Password was reset
  • When is the next time it can be reset.
Next time you have a chance to play with your AD Domain try familiarizing yourself with this Command as it may help you in the future. 

Friday, May 27, 2016

Install Exchange 2013 SP1

I don't know about you but I really like where Microsoft is going with their installers these days. Back when I first stated in the field and had to install Exchange 2007 there were so many prerequisites that needed to be installed before you could even start to do the installation. They have now made it to where the system will at least tell you which items you need to install rather than send you on a wild goose chase. 

I started this particular post as documentation notes for an Exchange Server that I stood up in my Lab at work. Originally it was not meant to be a functioning Exchange server but as time went on it evolved into one. 

I am going to skip all of the previous steps about how to setup and configure your Server installation. However if you need instructions on that you can find it here:


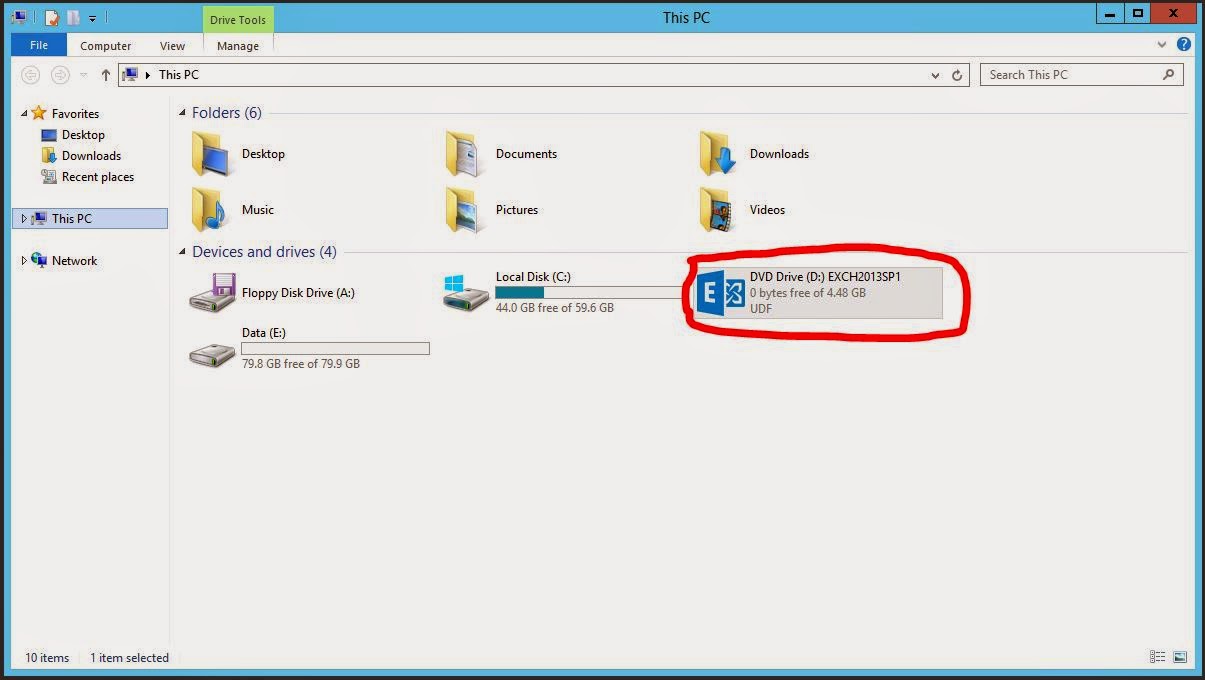
We start with having the installation files mounted to the CD/DVD Drive.


Double Click on the blue Exchange 2013 Icon to launch the Wizard.


Of course if you at User Account Control (UAC) enabled you are going to get this message. Click Yes to continue.


Checking for Updates is optional but I always like to make sure that I am working with the latest version of the software to avoid issues (unless there is a known issue).


Once the updates check is complete you can click Next to continue.


Now you just need to be patient until the files are copied to the proper working directory or install directory. Once that completes you then have to wait while the setup is initialized.


Once all of that is done you can begin the installation by clicking Next.


Accept the licensing agreement and click Next.


You will now be presented with the option to use or not use recommended settings. For this server I went with recommended. Click Next to continue.


You will now get to choose your Server Roll Selections. The most common roles for the kind of server that I am working with here would be Mailbox role, Client Access role (not sure why they are not checked off in this image.) Click Next to Continue. 


Here you can decide what directory you would like to install the Exchange application. This also includes the default mailbox stores. Click Next to continue.


Next you have the opportunity to name your organization. You are only able to do this once and you are only presented with this screen if you do not have exchange running in your environment at all. Click Next to continue. 


If you so choose you can enable Malware protection setting which allows Exchange to scan for Malware in your emails. For me I chose no as we have other products we use for that, and this server is not accessible from the internet for email. Click Next to Continue. 


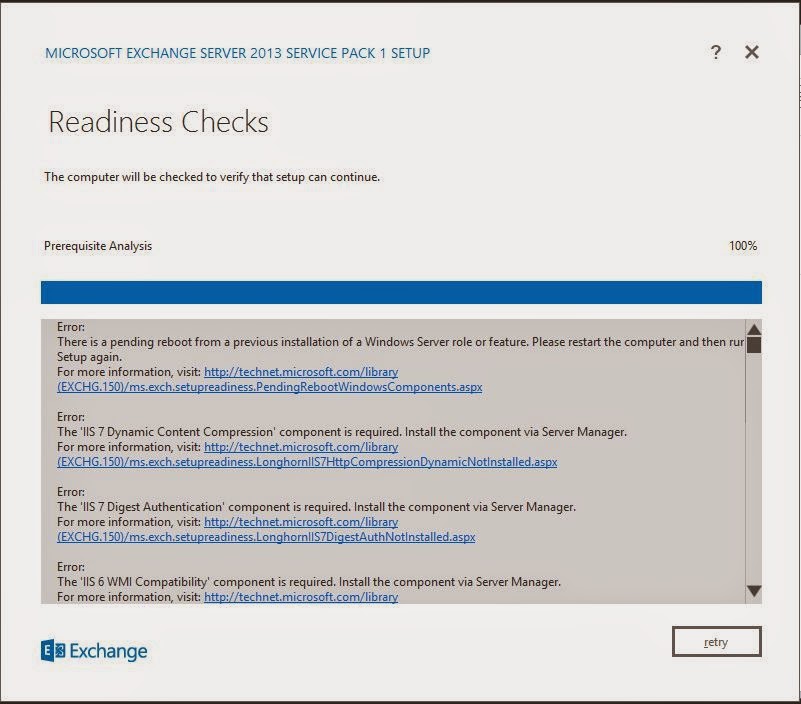
Now with all of those configurations behind you, it is now time for the readiness check. Click Install to begin. 


Once the readiness check is complete you may be presented with items that need to be resolved before you can continue. Once you have them all taken care of you can


As you can see all of the issue have now been resolved and you can now click Install to continue. 


Once you click install the setup pretty much runs unattended until it completes. If you do what I did and go out to lunch instead of taking more screenshots you may just skip all the waiting and see my next screenshot.


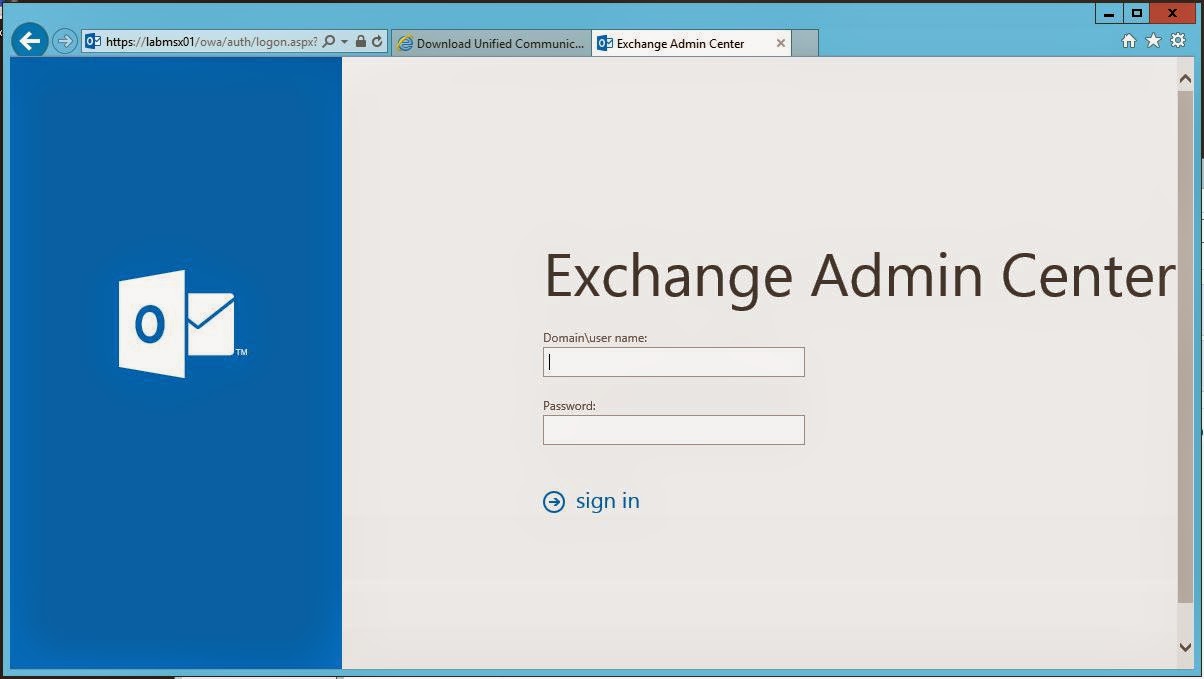
As you can see the installation completed and you are now ready to launch the Exchange Admin Center by clicking the check box and clicking finish.

Once you click Finish on the previous Screen Internet Explorer (or your default web browser is opened) and you are now able to log in.


Please let me know if you found this helpful in the comments below. This was a rather large guide and I paired down a few things to keep it where it is.

Thursday, May 26, 2016

Windows Update error 0x80243004.....

While performing routine server maintenance on one of my terminal servers at work I received one of the many vague error messages that Microsoft in their (In)finite wisdom give us to help troubleshoot the problem. Normally I would just ignore the error message and come back to it at a later time but as I am in the middle of a tight window I figured I would give it a shot an troubleshoot it (Crazy I know).

So first I start by Google-ing "Error Code 80243004" and I get several hits. The first one I get takes me to a Microsoft article about the issue:

http://windows.microsoft.com/en-us/windows7/windows-update-error-0x80243004

It was very short and to the point (which I appreciated greatly at 11 PM), but the answer I got really made me think that it was pulling my leg. Since it was a Microsoft article I took it seriously and followed it's sage advice and amazingly it worked!!! (or so it seems at the time of me writing this)

Apparently the little notification that you get when you log in that tells you that you have updates to install is more than just an annoying little pop up. Without it being present your updates will fail (Unless you have it disabled in Group Policy). So from what I can tell, one of my users must have gotten tired of seeing that pop up and told the system to make it go away, and because of that I was unable to update the system until I brought it back.

Why would anyone make that little notification so important? I am really posing a serious question here, and if you have an answer it would be greatly appreciated down below in the comments.

Also if you are like me and enjoy looking at pictures to help you through issues, I would say check out this blog post as well:

http://jackstromberg.com/2013/09/code-80243004-windows-update-encountered-an-unknown-error/

I hope this post has been helpful to you and I will continue to post more of these (As I discovered more update issues from my casual perusing of my network).

I have moved!!!

Please check out my new blog which now contains all my old posts and some new goodies as well.  I can now be found at http://www.kenbshinn.c...