Continuing on from my previous post on how to build a VM using the VMWare vSphere C# Client and How to Edit a VM, I figured I would use that as a segway into our next subject and take that same VM that we build and install Windows Server 2012 R2.
Now taking that same VM right click on it's name on the left hand panel and click open console (this is a matter of preference but there any many ways to do this). Once the virtual machine console is open click on the green play button to start the VM.

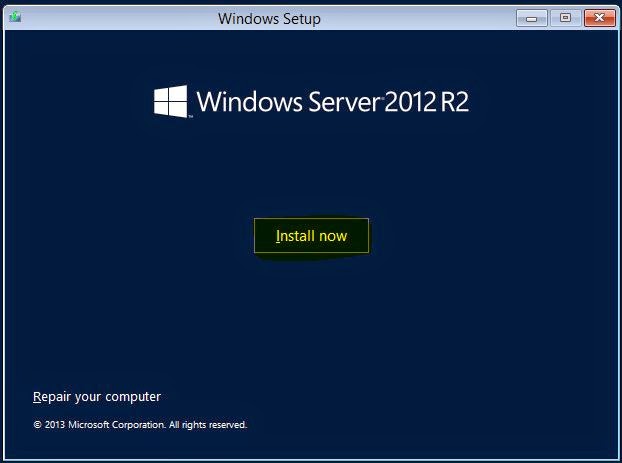
Now if you follow the aforementioned posts then you should already have the .ISO with Windows Server 2012 R2 already mounted and you should be presented with the screen below.

Select your language of choice and click next, and click install now on the next screen.
On this next screen you can select what version of Windows Server 2012 R2 you would like to install. Your options are:
- Windows Server 2012 R2 Standard (Server Core Installation) - This is command line only and not recommended unless you know what you are doing.
- Windows Server 2012 R2 Standard (Server with a GUI) - Great for beginners and general purpose uses.
- Windows Server 2012 R2 Datacenter (Server Core Installation) - Same as above for Standard, however this is designed to handle larger workloads and virtualization (Hyper-V)
- Windows Server 2012 R2 Datacenter (Server with a GUI) - designed to handle larger workloads and virtualization (Hyper-V)
For our purposes we are going to use Server 2012 R2 Standard as the end result will require us to have a GUI. Click Next

Accept the License Terms and click Next.

On the next screen you will be given the option to upgrade your current version of Windows Server or to do a custom install. Since this is a brand new virtual machine we will need to click Custom.

You are now asked which drive to install Windows, I have selected the 60 GB drive and then click "New". This will allow you to format the drive as right now both drives are Unallocated.

You are now given the option to size your partition, I went with the Maximum for the drive and click apply.

In standard Microsoft fashion you will get a dialog box asking if you want to really do this as it will destroy everything currently on the disk. Click OK to continue.

You will now see that Drive 0 has 2 partitions, The System Reserve and Partition 2. (We may go into this in greater detail later) To keep my drive lettering from getting out of control, I am now taking the time to format the 2nd Drive. This is just a simple housekeeping step, you can skip it if you would like but just remember you will need to format this drive sooner or later.

After the formatting is completed, I select Drive 0 Partition 2 to install Windows and Click Next.

Now the installation process has begun.

Once this has completed you will need to go through the startup menu which will ask for Product License, and Administrator Password. Once all of that is completed you will then be able to log in and configure your machine.
That is all for now, I will continue to update this post with more screenshots and continue the series.


No comments:
Post a Comment